August 26, 2012

Upholstering the Infamous Couch

Over the course of 3 days I have successfully upholstered the couch enough so that I can sit on it! :) The first part that has to be upholstered is the seat, but doing this requires a sewing machine, and I accidentally forgot Dana's sewing machine in Burlington. I had to hope and pray that my sewing machine would work and would have a zipperfoot attachment if I wanted to use it. Luckily something finally went right with this project and I was able to repair my sewing machine, AAAANNNDDD there was a zipperfoot attachment in my book of sewing machine supplies! I was able to move on with the project as hoped. If you look carefully at the picture you might be able to see that the seat cover has a seam about 3 inches back from the front edge, well this had to be handsewn, which was a process but after that it move along quite quickly. I finished the handsewing and got to use my staple gun. As a side note, when I was removing staples I was cursing whomever had assembled this couch and decided to use so many staples, but I must say that it is really easy to get staple happy when you have that gun in your hand! 

The next part of the couch that gets completed are the two arms. Completing the first arm required quite a learning curve and a lot of undoing and redoing. After about 4 hours I finally completed the first arm.


Completing arm 2 and the back of the sofa only took about 2 hours and the best part is that the couch is now upholstered enough to sit on it! I even took a nap on it already. I can't continue the project anymore until some additional supplies arrive, but all that is left are the outsides of the two arms and the back. Then I will add cording to the bottom edge and but the cover on the bottom!


Un-upholstery (I Hate Staples)

Lets just say that in order to make the couch look like this: 


I had to remove all of this from the frame.


As usual I had no idea what I was getting myself into when I took on this upholstery project, but it seemed like a great idea. I spent some amount of time for each of 5 days working on removing staples. I am very glad that I spent the extra money to buy the staple remover! I can't imagine how long removing all of those would have taken if I had not bought the staple remover. I also used needle nose pliers and a lot of gusto. There were two days that I had to stop because my hands hurt and at least 1 day that I had to stop because my arms were tired. At the very end I just couldn't go on any longer, so I counted to see how many staples were left, thinking that if I knew how many there were left I might keep going.  There were exactly 28 staples left and it took a full hour break before I could muster up the strength to pull them all out. Once the staples were all out I took a nap! :)

August 8, 2012

Re-upholstery Project (2)

To prepare for this project I bought the following supplies:


1. the book Reupholstering At Home by Peter Nesovich
2. chalk to mark your fabric
3. welting cord
4. zipper-foot attachment for sewing machine
5. #16 sewing machine needles - jean/upholstery weight
6. zipper for the cushion - 45" long
7. 10 yards of upholstery fabric
8. upholstery strength thread to match your fabric
9. large sketch pad and pen - to draw a paper plan
10. 4" polyfoam to replace the old foam that the cat peed on


Now...please recall the planning fallacy concept that I explained in my last blog. Well I started on my project by marking the pieces for the cushion in chalk. I cut out the boxing (side pieces) and was preparing to sew in the zipper. I dug out my aunt's sewing machine, changed the needle, threaded the machine, wound the bobbin (20 minutes) then I got ready to switch the foot to the zipper foot. That didn't really go as planned. The regular foot attached with a screw that goes sideways through the leg. Well my zipperfoot needs to attach front and back through the leg so I had to get a screw driver and remove the cover to the sewing machine then loosen another screw that releases the leg so that it can be rotated and the hole will then run front to back instead of side to side. I turn the leg, tighten the screw, return the cover to the machine and tighten that screw and THEN find out that the leg isn't high enough to attach my zipper foot. Redo, loosen screw and remove cover, loosen leg screw, raise the leg up higher and retighten the screw, replace cover (I don't know why I hadn't yet figured out that I should leave the cover alone until everything was all set). At this point all I need to do is to attach the zipper foot attachment, but I can't because the screw isn't long enough!!!!!!!!

I had to get up and walk away from the table because I was soooo frustrated. After a few minutes I returned to the table and configured my aunts sewing machine back to it's original state and put it in the closet. New plan....go to Dana's house and use her newer sewing machine that would clearly work with my zipper foot attachment. 

Today I got up a bit earlier and went for a walk so that I could get to Dana's house early and work on the much anticipated cushion upholstery project. I got to her house and decided I would be smart and figure out the zipper foot attachment before anything else. Needless to say that my zipper foot again didn't fit her sewing machine!!!!!! To my amazement, Dana's machine has it's own zipper foot and I managed to get that to work properly. Once I had the foot all set I plugged the sewing machine in and threaded it. I then went to put the bobbin in the bobbin holder. Surprise, surprise, it didn't fit. I grabbed one of Dana's bobbins and used the thread off my already full bobbin to wind the new bobbin. I finished winding the bobbin and went to put it in the bobbin holder. Guess what!?! It didn't fit. 

At this point I am again frustrated with this project, so I took a break and calmed down. I then went through all of the empty bobbins until I found a bobbin that fit in the bobbin holder, then I wound the bobbin and then magically it fit in the bobbin holder! Hooray! At long, long last I could actually work on sewing. 

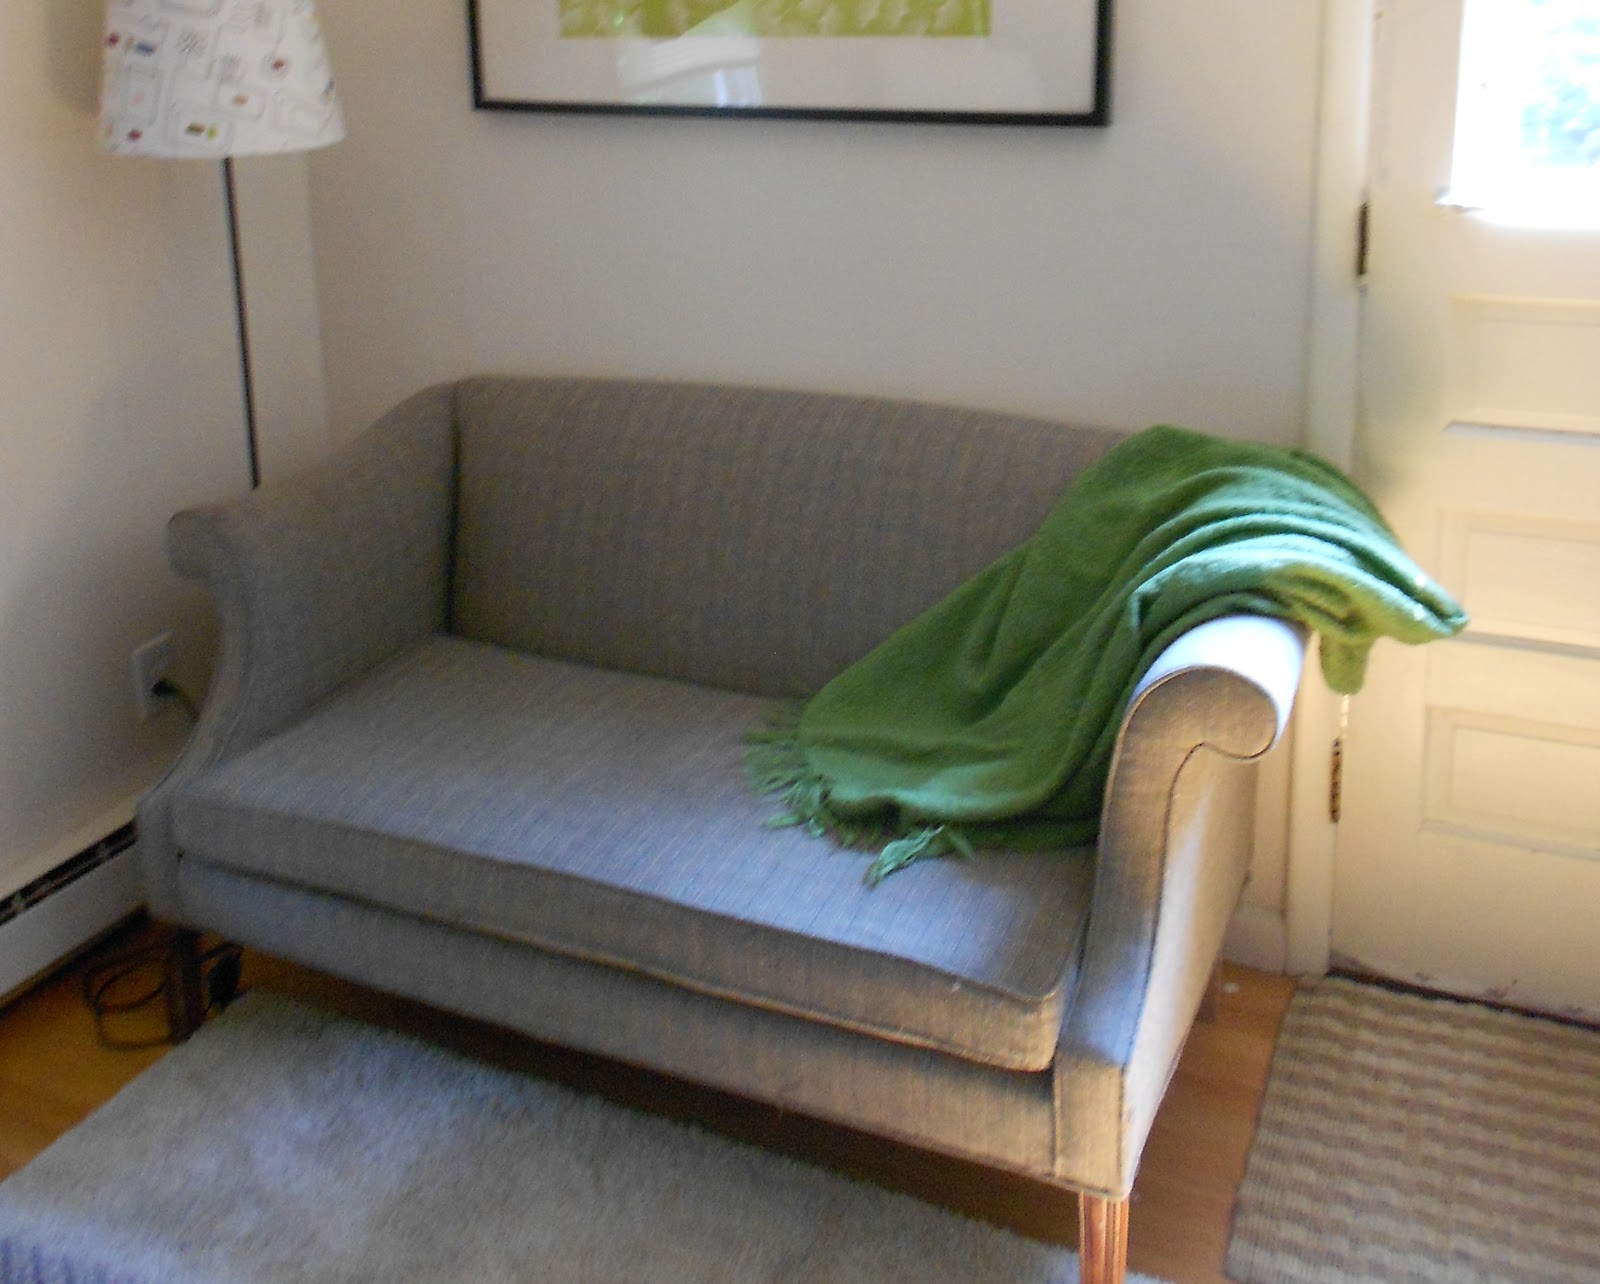
I spent the next few hours sewing. And probably 15 minutes later on in a match of Jess versus polyfoam, in which I tried with all my might to get the foam into the case. I can tell you that this was not only hilarious but it was quite a work out AAAANNNNNDDDD, as you probably guess I eventually overcame the polyfoam with my willpower and got the stupid stuff zipped into my cushion. Below is the final cushion for my couch. 


I am just saying that I will never get rid of this couch because of our history. (Love you couch)

Re-upholstery Project (1)

At long last the upholstery project has begun. Before I being the story I would like to tell you about a new concept I learned. There is this idea called the planning fallacy which basically says that when we plan for large projects we don't leave time for unexpected problems. When I read about this concept I thought to myself, yep, that is the story of my life! Every project I undertake ends up taking two or three times longer than I expected.

Back to the story of my sad couch and it's makeover. Below is a photo of the couch in question. I got it for free from Johnson Lambert two years ago. Dana helped me carry the couch from the office on St. Paul Street to my apartment approximately 3.5 blocks away. We looked completely ridiculous carrying a small couch through down town!


The best part wasn't even that we carried the couch through downtown but that when we got to my apartment the couch barely fit through the front door, didn't fit through the second and third door so we had to take them off their hinges and then we couldn't get it into my living room. I was so sick of the couch at that point that I used a hammer to break off the back legs (partially). We were able to get it into the living room and I let poor Dana leave. I promptly went to Lowes and bought a jig saw and legs that I could attach to replace the now jagged broken legs. I successfully removed what remained of the old legs and attached two new back legs.

At that point I also decided to make a slip-type cover for the couch, which was fine in my Church St. apartment, but was rather abused by the cats. When I moved out of Church St. I left this couch on the street for a whole day hoping that someone would take it. To my dismay no one wanted my old couch so I loaded it into my car and brought it to my aunt's house.

During the 8 week stay at my aunt's house I cleaned the upholstery on the couch and it actually came quite clean. Fast forward to moving day...the couch is loaded into the moving truck and we are ready to go, but wait! The cushion...don't forget the cushion! I ran back inside to grab the cushion and noticed that it REEKED of cat pee. My best guess is that my aunt's cat decided to tag my couch before it left. This is the moment that I decided to re-upholster my couch. As you can see it fits exactly into my apartment and this couch and I have some history!

August 3, 2012

Grilled Portobellos with Bruschetta


On Wednesday I tried this new recipe with Anna and we both agreed it was great. Emily also endorsed this recipe and she only got to eat leftovers!

Ingredients:
 - 4 portobello mushrooms
 - 2 medium red tomatoes
 - 2 medium yellow heirloom tomatoes
 - 2 cloves of garlic
 - 1/2 lb of fresh mozzarella
 - olive oil
 - around 1/2 cup of fresh basil

Preparation: 
- It is best to prepare the bruschetta mix first so the flavors have some time to combine. Mince two cloves of garlic and add to a medium sized bowl. Then add between 3 and 4 tablespoons of olive oil. The olive oil quickly picks up the garlic flavor.
- Chop all four tomatoes and the mozzarella into 1/2 inch cubes. (I am considering making this with grape or cherry tomatoes next time so the prep is a little easier.) Add to the garlic mixture.
- Chop the basil and add to the garlic tomato mixture
- Next remove the stems from the portobellos and scrape the gills out with a spoon. Either grill or cook in a frying pan for 4-5 minutes on each side.
- Top the protobellos with a large scoop of the bruschetta mixture.

When I had finished eating my mushroom and bruschetta I had a lot of delicious juices left on my plate, I think this would be perfect to have with a baguette that has been toasted or grilled!

I hope your taste buds enjoy this as much as mine did.

Brunch at the Inn at Shelburne Farms


After spending two great days at Camp I had the pleasure of having brunch with my two favorite people (Dana and Brian, as if you didn't know) at the Inn at Shelburne Farms.  Dana ordered a popover with lemon blueberry curd and it was amazing! Brian and I both ordered the eggs benedict with heirloom tomatoes and a side of home fries. The heirloom tomato was my favorite part and a great addition to eggs benedict. I highly recommend that everyone try the Inn at Shelburne Farms, the food is great, the building and grounds are amazing and it isn't too expensive.


Camp


What can I say, my mom is pretty much awesome. I was able to spend two days at Camp this weekend and it was jam packed with good food, good people and a few adventures! Mom cooked a ton of delicious food in the oven, which as you can see has progressed amazingly! The first thing we made was pizza, then cinnamon rolls, rye bread, ribs, mac and cheese and chocolate chip cookies. Mom's cooking has always been good, but I must say the oven adds a whole other level to her skills. Thanks for all the delicious food Mom.

Doesn't the pizza look good!

Amid the food frenzy we squeezed in a four wheeler ride with the neighbors, Mike and Krystal.

And of course no summer trip to Camp would be complete without a camp fire. This weekend's fire was interesting because we had 4 kids under 4 that were little fire bugs. They all wanted to help gather sticks to start the fire and once it was going the wanted to keep adding wood as fast as they could collect it. The only way to stop the fire building was to distract them with s'mores. Caleb couldn't be deterred for long though! I'm convinced he would have hung out by the fire all night long.

Mom and Caleb hanging out by the fire